Imanote: Encoding text into regular images - An exercise in steganography
Here's an image of my puppy, that with very subtle adjustments to individual pixel colours, is used to store text within the image.
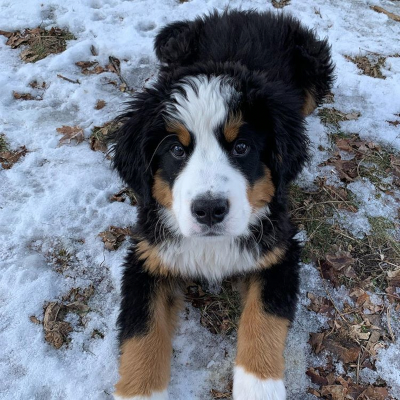
Willow, 400x400 .png Image
This image has 50,000 characters of text encoded with a method that leaves the image without any visible alterations, and can be distributed like a normal image. It can be used with any text with ASCII encodable characters on any lossless image format.
You can test it out by running this Python script on the above image. (Pillow is a dependency, more details below)
You can run
python3 readdemo.py puppy.png and it'll output
output.txt containing the text.
How it reads data
The input text is stored as ASCII text, which can be stored as 8 bits per character (or 7 bits, but that's not what I'm using). The text is split up into three equal length chunks, one per colour channel. The algorithm encodes the character over eight pixels, using the odd/even value of the pixel RGB value as binary data.Lets look at this at a smaller scale. Here's a 8x1 image that I've ran through my program to encode a message. It consists of eight red pixels, each visually indistinguishable from one another.

But looking at the RGB values, they're all slightly different.

We can combine these bits into bytes:
Red:
01001000Green:
01100101Blue:
01111001If you haven't picked up on it, these are 8 bit ASCII characters, which map to "Hey". Repeating that over an image leads to a large capacity of text to store. If the image has a higher capacity than the size of the text, a stop character is added. In my examples, I use ">". The algorithm repeats until it hits the stop character to prevent reading garbage data as text, or hits the end of the file.
How it writes data
The text goes through a little processing first. The program first checks if the image is large enough to store the text.return (len(note)*8)/3 <= width*height
The text is split into three equal lengths, one per channel, and adds a stop character if requested.
return [note[0:note_len]+STOP_CHAR,note[note_len:note_len*2]+STOP_CHAR,note[note_len*2:len(note)]+STOP_CHAR]
The write data function is passed one of the split text chunks and a colour channel. An array is declared to hold the new pixel data. The input image is opened with Pillow to read each pixel. The text is loaded into an array of the ASCII codes for each character. Two integers are declared to keep track of the location in the text where it's currently at.
new_image_data = []

input_image = Image.open(input_path)
ascii_note = list(bytes(note,"utf-8"))

bit_location = 0
byte = 0
The function runs aross each pixel, and checks if there's text left. If there is, it splits the current character into a string containing the 8 bit ASCII code. If the character is "a", the binary character = "01100001". It then works through each bit of the character to be encoded into the image.
for pixel in input_image.getdata():

if byte < len(ascii_note):
	char = format(ascii_note[byte],"08b")
	new_bit = char[bit_location]
Here's the meat and potatoes of the algorithm. For each bit, the function is checking if it's odd or even. If the current bit is 1 and the pixel colour values is odd, then we leave the pixel alone. If they don't match, the function subtracts one from colour value (unless the colour value is zero, then it adds one). The pixels are appended to the array of new pixel data.
if( (new_bit=="0" and color[channel]%2==0) or (new_bit=="1" and color[channel]%2!=0)):
	newimdata.append(color)
else:
	new_color = list(color)
	if new_color[channel] == 0:
		new_color[channel]+=1
	else:
		new_color[channel]-=1
	newimdata.append(tuple(new_color))
Once the function hits the end of the text, it appends the rest of the pixels unchanged to the array, so that the image is complete. The bit location increments from 0 to 8, working through each bit of the 8 bit character. Once it hits 8, it resets to 0 and the byte is incremented, moving on to the next character.
          else: new_image_data.append(pixel) bit_location+=1 if bit_location==8:
          byte+=1 bit_location=0
By now, the encoding for that channel is complete. The function finishes by writing the data to the file, again using Pillow's image manipulation capabilites.
          new_image = Image.new(input_image.mode,input_image.size)
          new_image.putdata(new_image_data) new_image.save(output_path)
This is repeated once per colour channel. After it's complete, you have an new image that's ever so slightly changed but contains a new layer of text data.
Some more demos
The house image is 1667x1250 pixels. It contains 775,000 characters, all 61 chapters of the book Pride and Prejudice.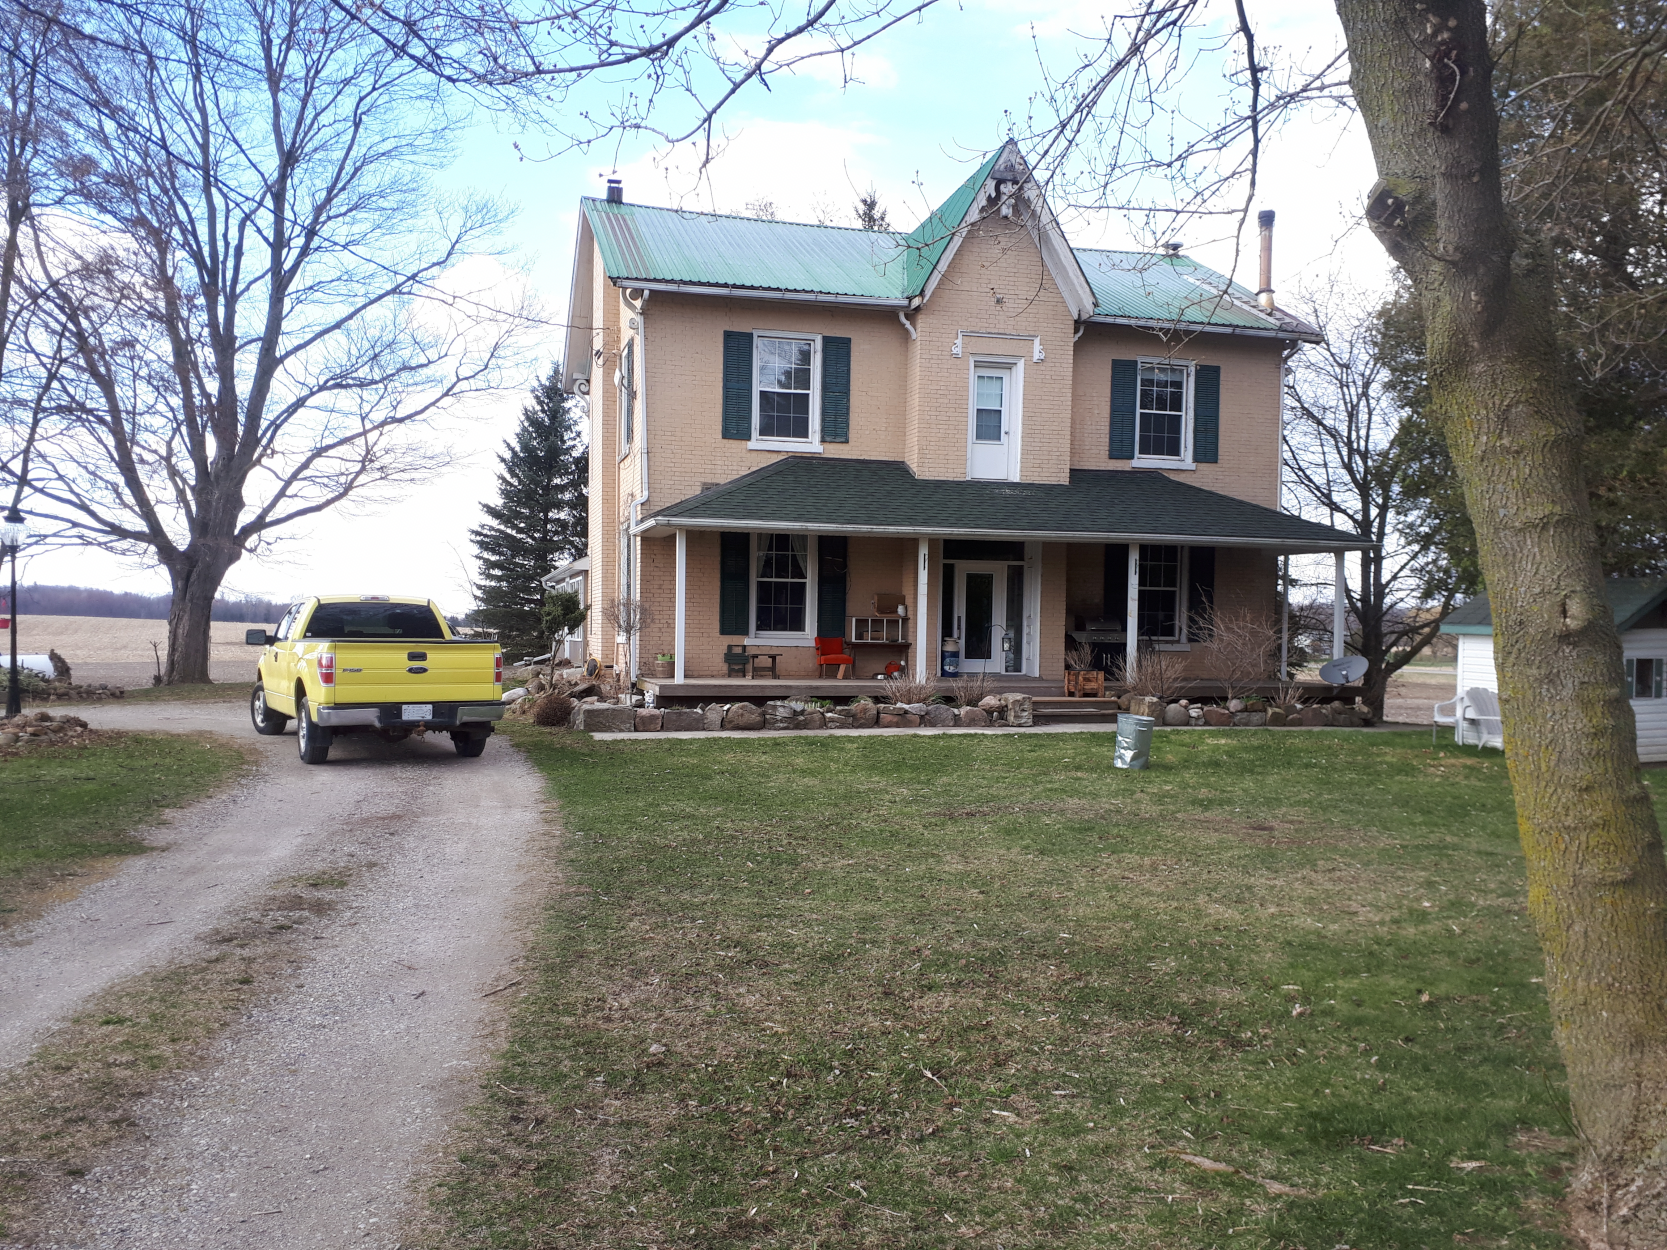
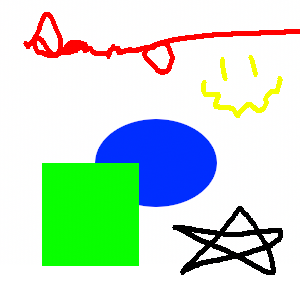
It works with flat colours as well. This 300x300 image of shapes has 30,000 characters, a couple of Edgar Allan Poe's short stories.
Trying it out yourself
The GitHub repo can be found here. There's a couple Python scripts in there. The first one isreaddemo.py, which has two strings defined at the bottom,
output and input_image. These can be changed
to read images that have text encoded. The other file is
main.py, which performs both the read and write, and has
similar strings for input/output.
Text file must be UTF-8 encoded and must contain only basic ASCII encodable characters.
Image file must be a lossless format to preserve the indivdual pixel data. PNGs work well, haven't tested any other lossless format. JPEGs or other lossy formats won't work.
Installing Pillow
Pillow is required to manipulate the images. You can trypip install Pillow or pip3 install Pillow or
refer to the
installation instructions here.